

LA Rams Premiere Center mapping
24/08/2017
Brief
In late 2016, we were approached by our client, Advent, asking if we (with Łukasz Mróz, arbuzz.eu) could create an interactive mapping for a 6 meter wide architectural model of a Stadium and surrounding development. It had to be interactive, with integrated info display panels. The goal of a client was to get a 360 interactive mapping over a physical model. Considering the size and complexity of a model and number of projectors required, we decided there is currently no commercially available software to do this. We were considering using TouchDesigner, but both software and Python programming were new to us at the time. Łukasz Mróz decided to go on an ambitious journey of creating his own custom mapping solution in Unity 3D. The challenge was great as it needed to implement multiple projectors output, projector calibration, blending and warping. On the top of that, there were considerable physical limitations of the location itself, which was a typical office building floor with relatively low ceiling. On top of that, we had to deal with pixel density, resolution and projector focal depth.
Projector setup
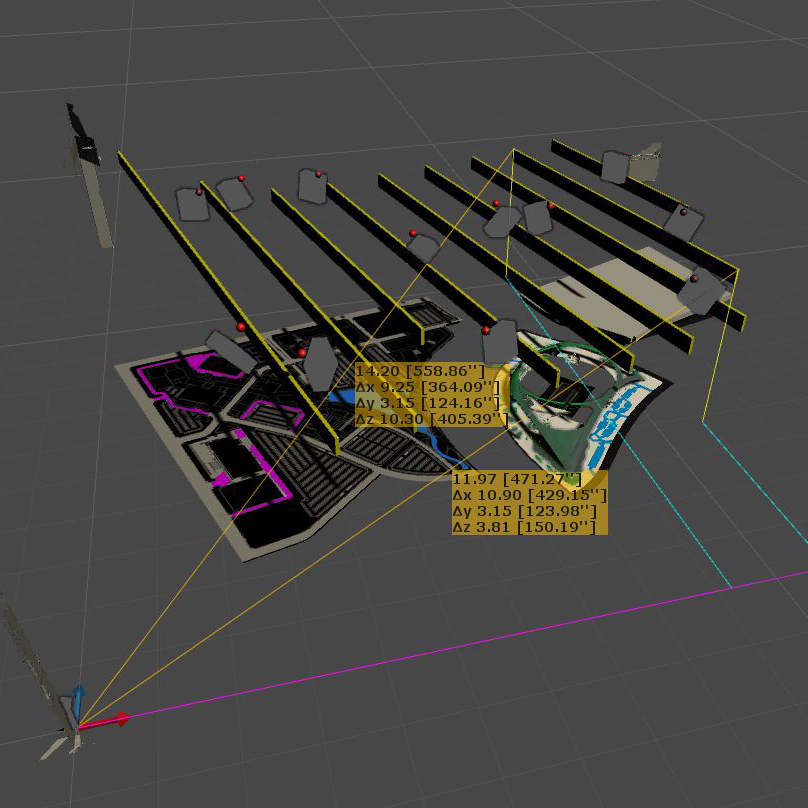
Finding the right setup took some time due to request to fit the projectors into architectural features / soundproofing fins.
First issue was designing the projection was establishing the projector setup. We had to specify a model, placement and number of projectors (12 in total). Our main goal was to maximise overall brightness, projection pixel density and projection coverage, while minimising shadowing, occlusion and number of projectors. The space itself was also limited, with 3.4m high ceiling with exposed beams and existing mechanical fixtures (AC). We chose 12 short throw laser Panasonic projectors, which could’ve been mounted in any angle and didn’t require bulb maintenace. The model we had to cover, was a 6m wide model being 2.2m below the projectors. This was by no means an easy feat – we had to consider multiple versions of projector placement, using different types of projectors and lenses as well. Łukasz Mroz developed a custom utility in Unity3d that enabled us to simulate coverage and pixel density on a 3d model, with complete room design in order to find all the potential conflicts. Thanks to this it took us only around of 50 different versions to get the optimal setup. At 1:144 scale. Our syntethic pixel density was around 600 pixels per meter, being slightly above the actual projected resolution in most prominent, detailed and visible areas.
Hardware setup
Content and design of a model allowed us to split the work between two custom built PCs. First one using two nVidia’s GTX 1080s for the 8 projectors and the other one using 1x 1080 for the other 4 projectors. The latter were focused on different parts of a model, which were operated separetely from the main, development focused part.
Content and workflow
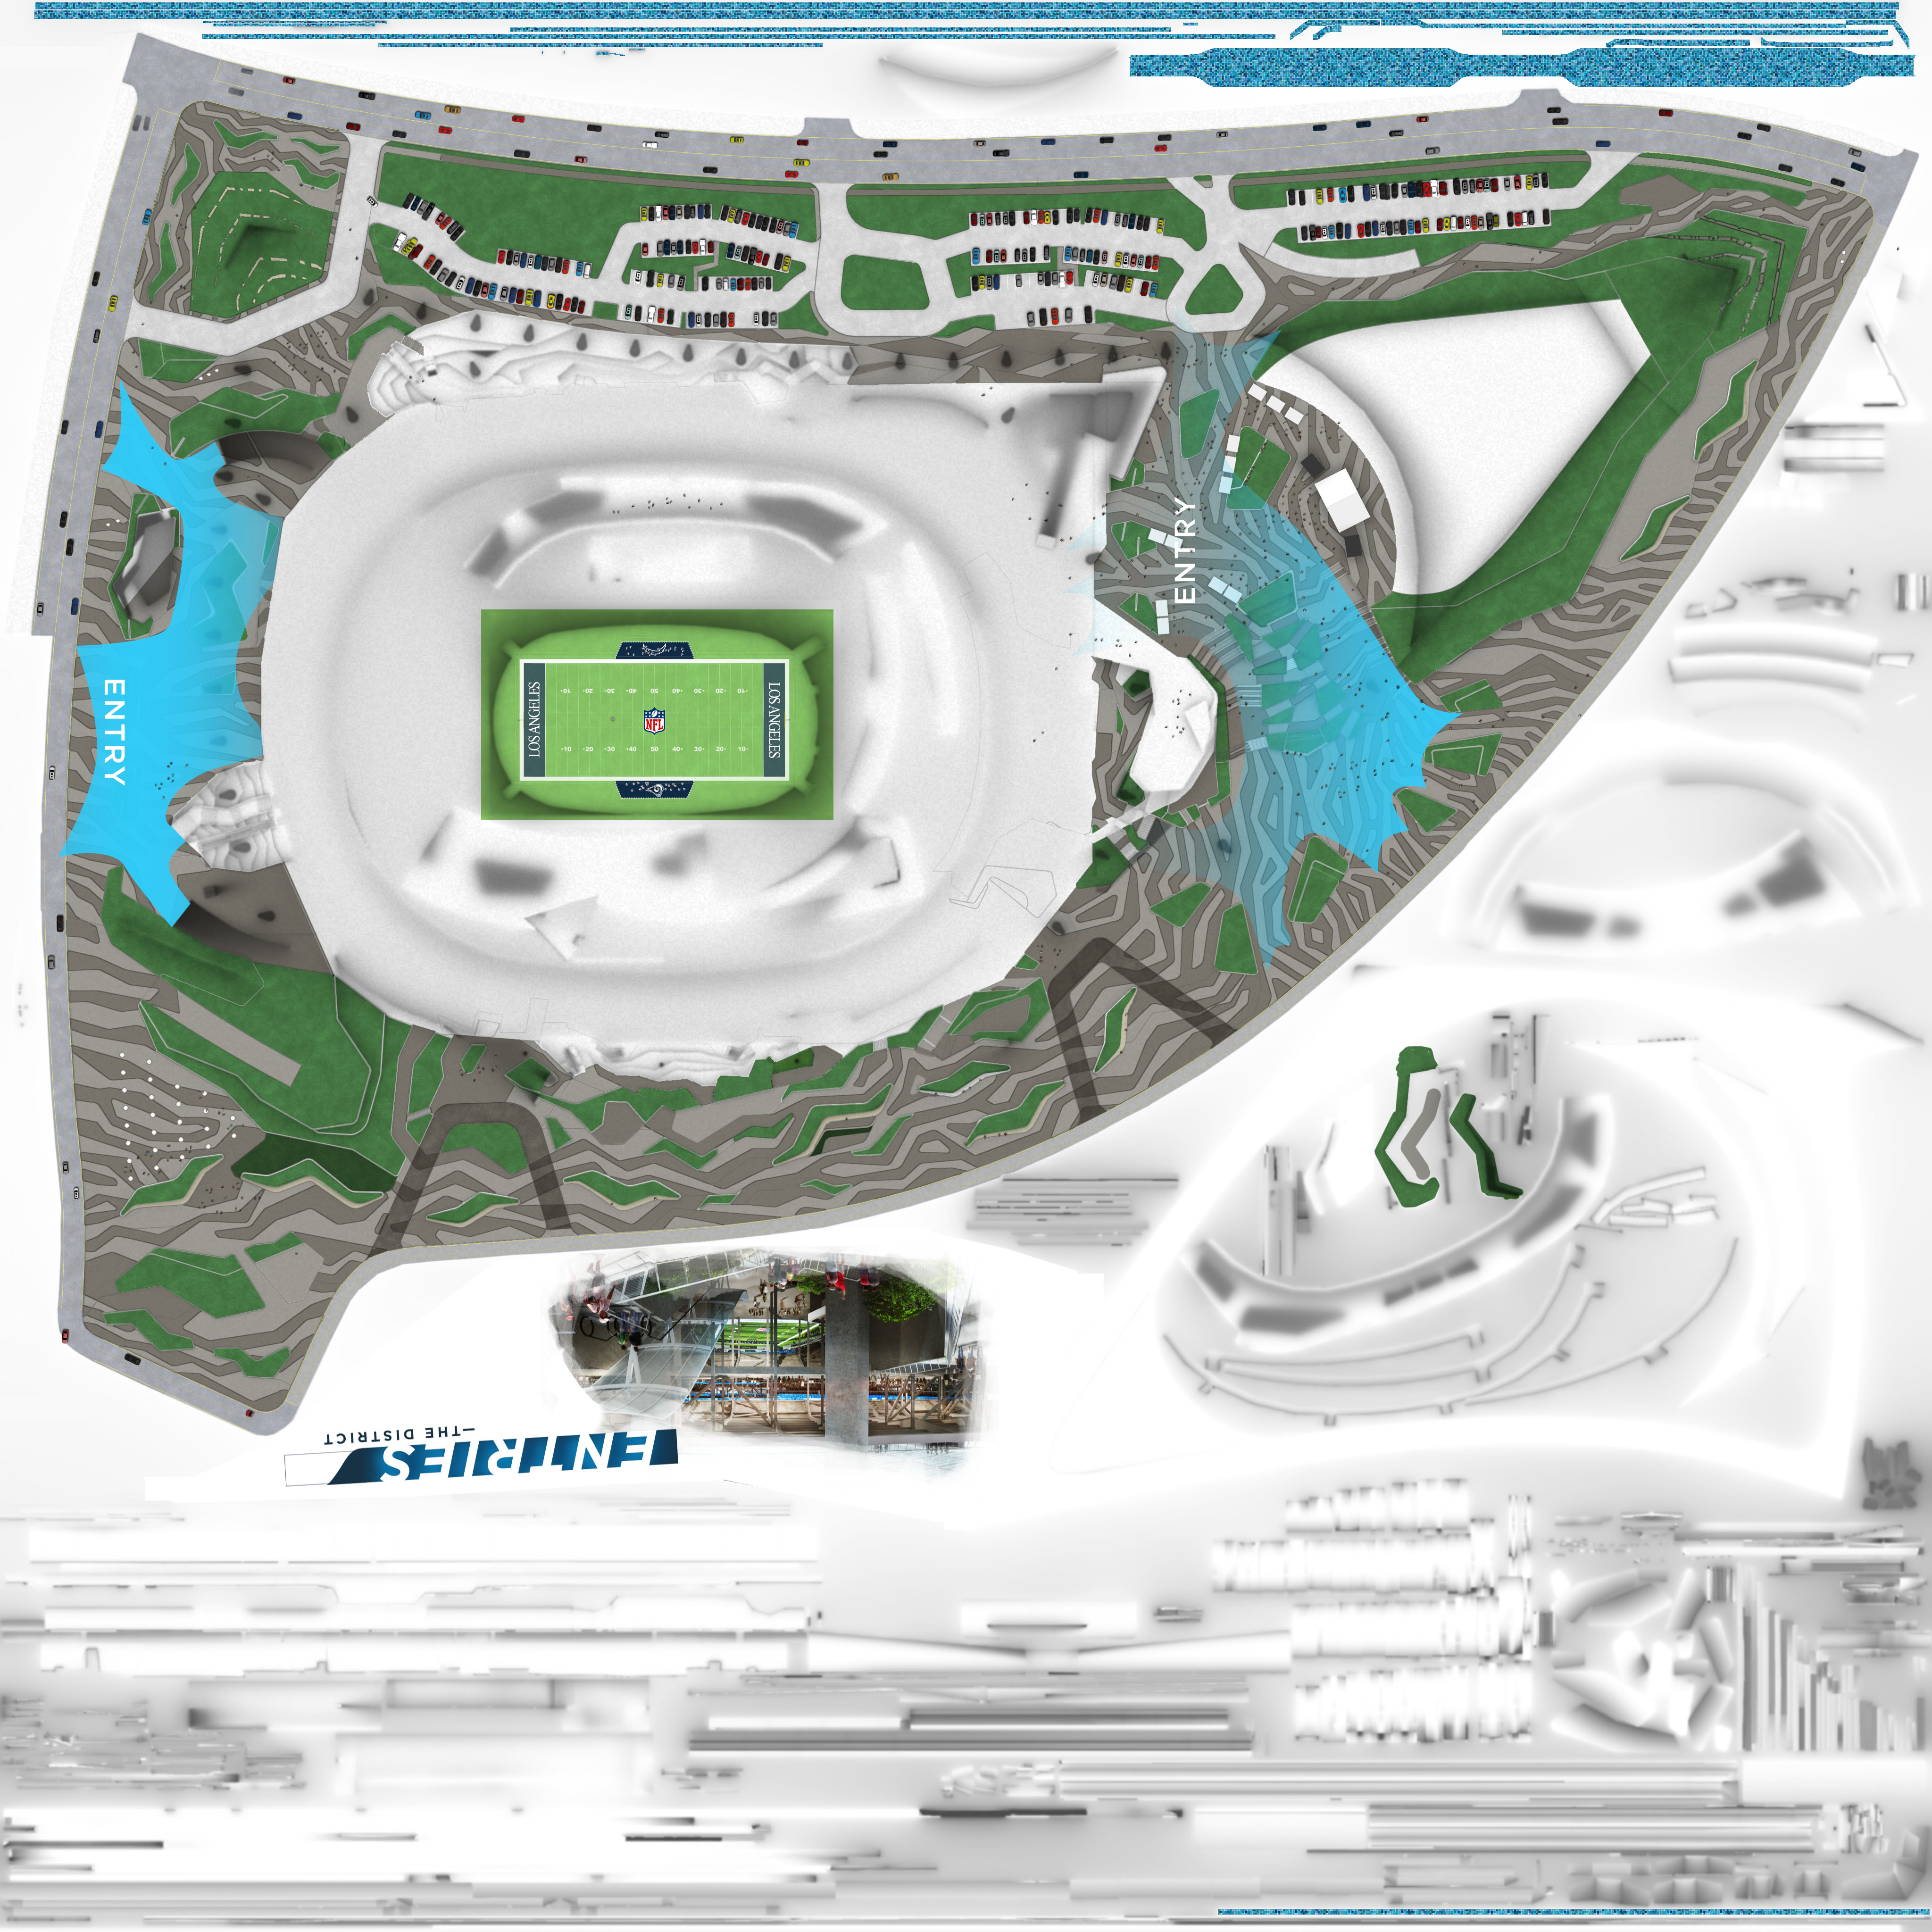
Frame from animated Stadium texture (4096 x 4096)
The client wanted this model to be animated with cars and crowds, sunlight simulation on buildings and whole development, crowds cheering at the stadium. Due to the size of the model, which even with unwrapping and relatively low pixel density, took total 34 megapixels of animated textures, including two 4k x 4k . This may not seem like a lot, but for animation, its a considerable amount. Even finding an efficient codec compatible with such resolution and Unity3d turned out to be a challenge. Our first attempts also shown new problems – the compression made all the landscape features look bad. To avoid this and get a good performance (Hap is encoded on GPU), we decided to use a Hap alpha codec – this way we were able to create animation only for moving objects – crowd simulation, cars, players and overlay it over lossless, static background. Sunlight simulations, interactive parts and extras were composited together in Unity3d with an animated, alpha enabled texture and static base.
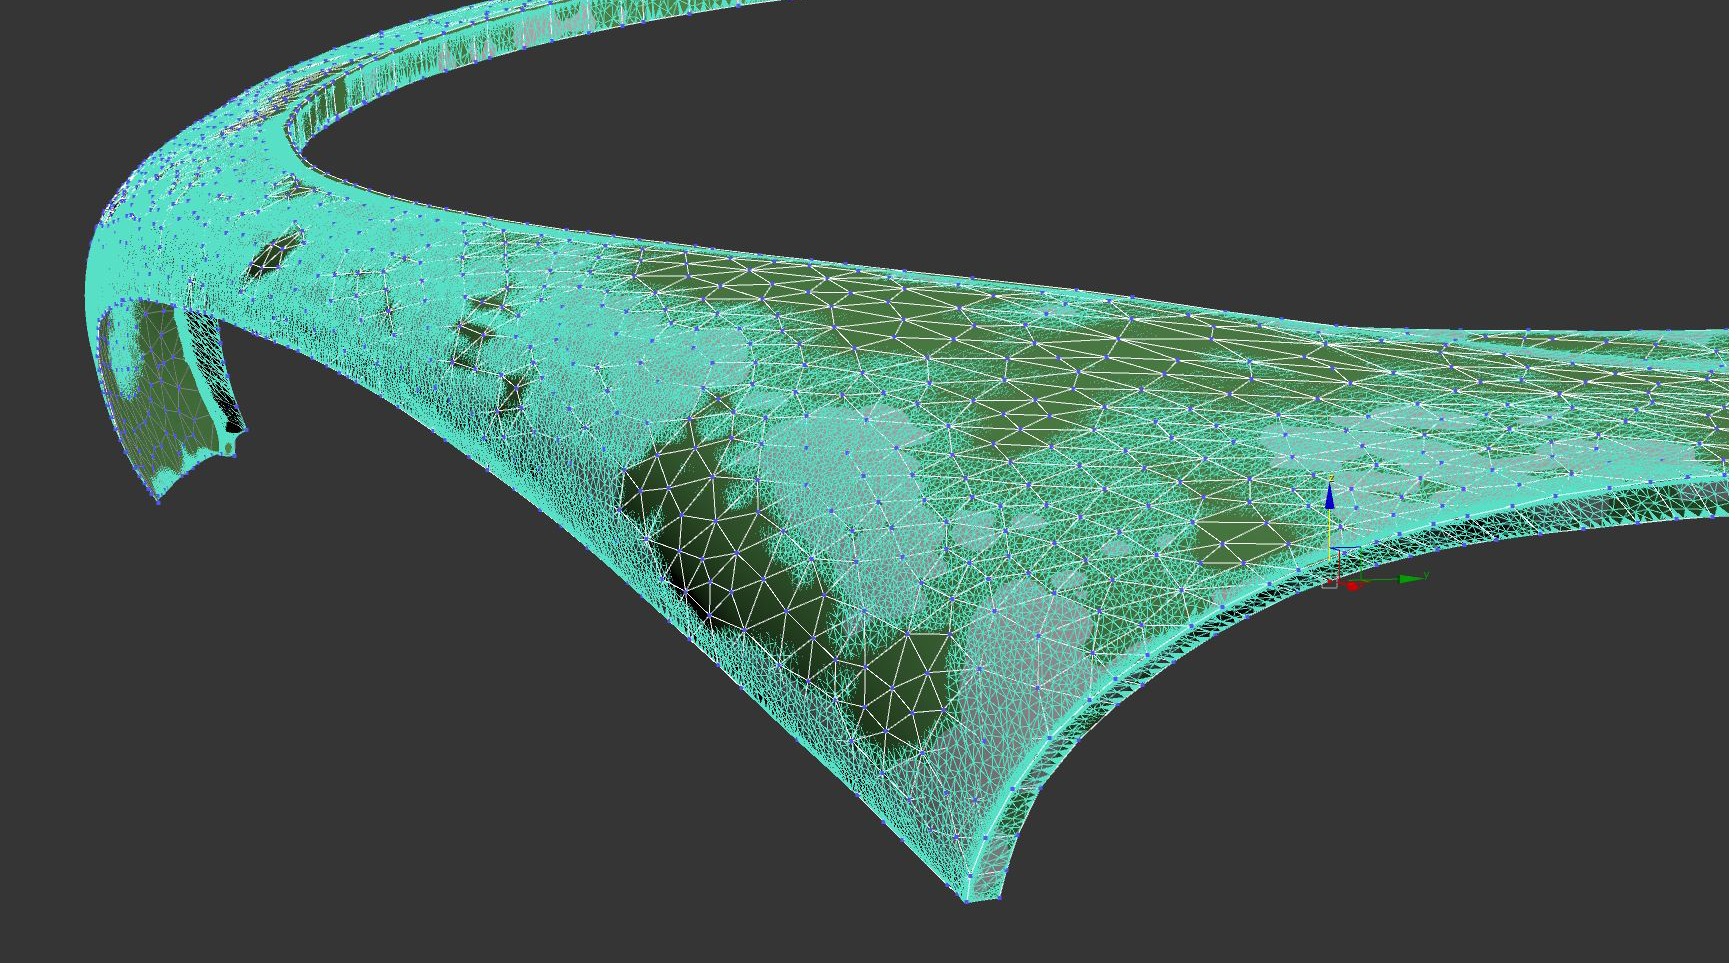
Model precision issues and LIDAR scans
For everyone working with 3d mapping it is obvious that spatial consistency between a physical model and a virtual one is a key to good results. Unfortunately, despite the claimed 1/5000 inch precision (true for cutting, but not after assembly), model makers were rather far from it, with inaccuracies compared to CAD model coming up to 1/2 inch. and severe, undocumented simplifications. To be honest – it was not an easy feat by any means. We talk about a 3 part model, consisting of 12 smaller parts, assembled together on site, with each building model being often fit on site onto bigger part. Each of those parts had its own support, local bending and distortions. The only way to get out of this situation was to perform a laser scan of an assembled model and modify the model to fit the scans. It was not ideal but thanks to advanced warpers in his software, Łukasz Mroz was able to calibrate the projection on site.
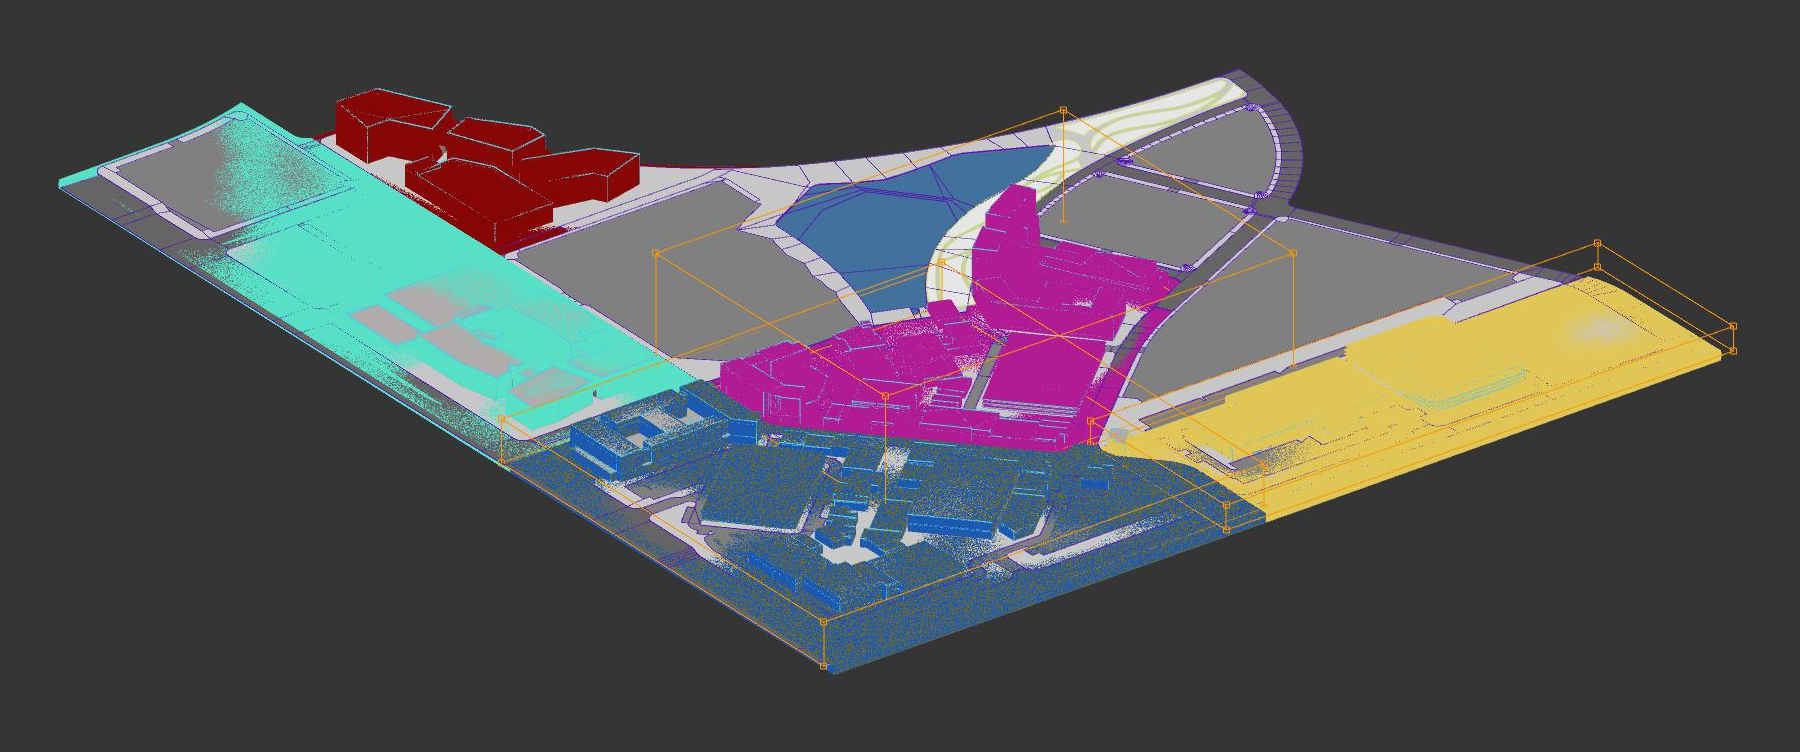
Aligning model to the laser scans has required some dedication and patience.
Results
You can see the results in our clients’ video. Or you can arrange for a visit and check it out yourselves, if near Los Angeles.
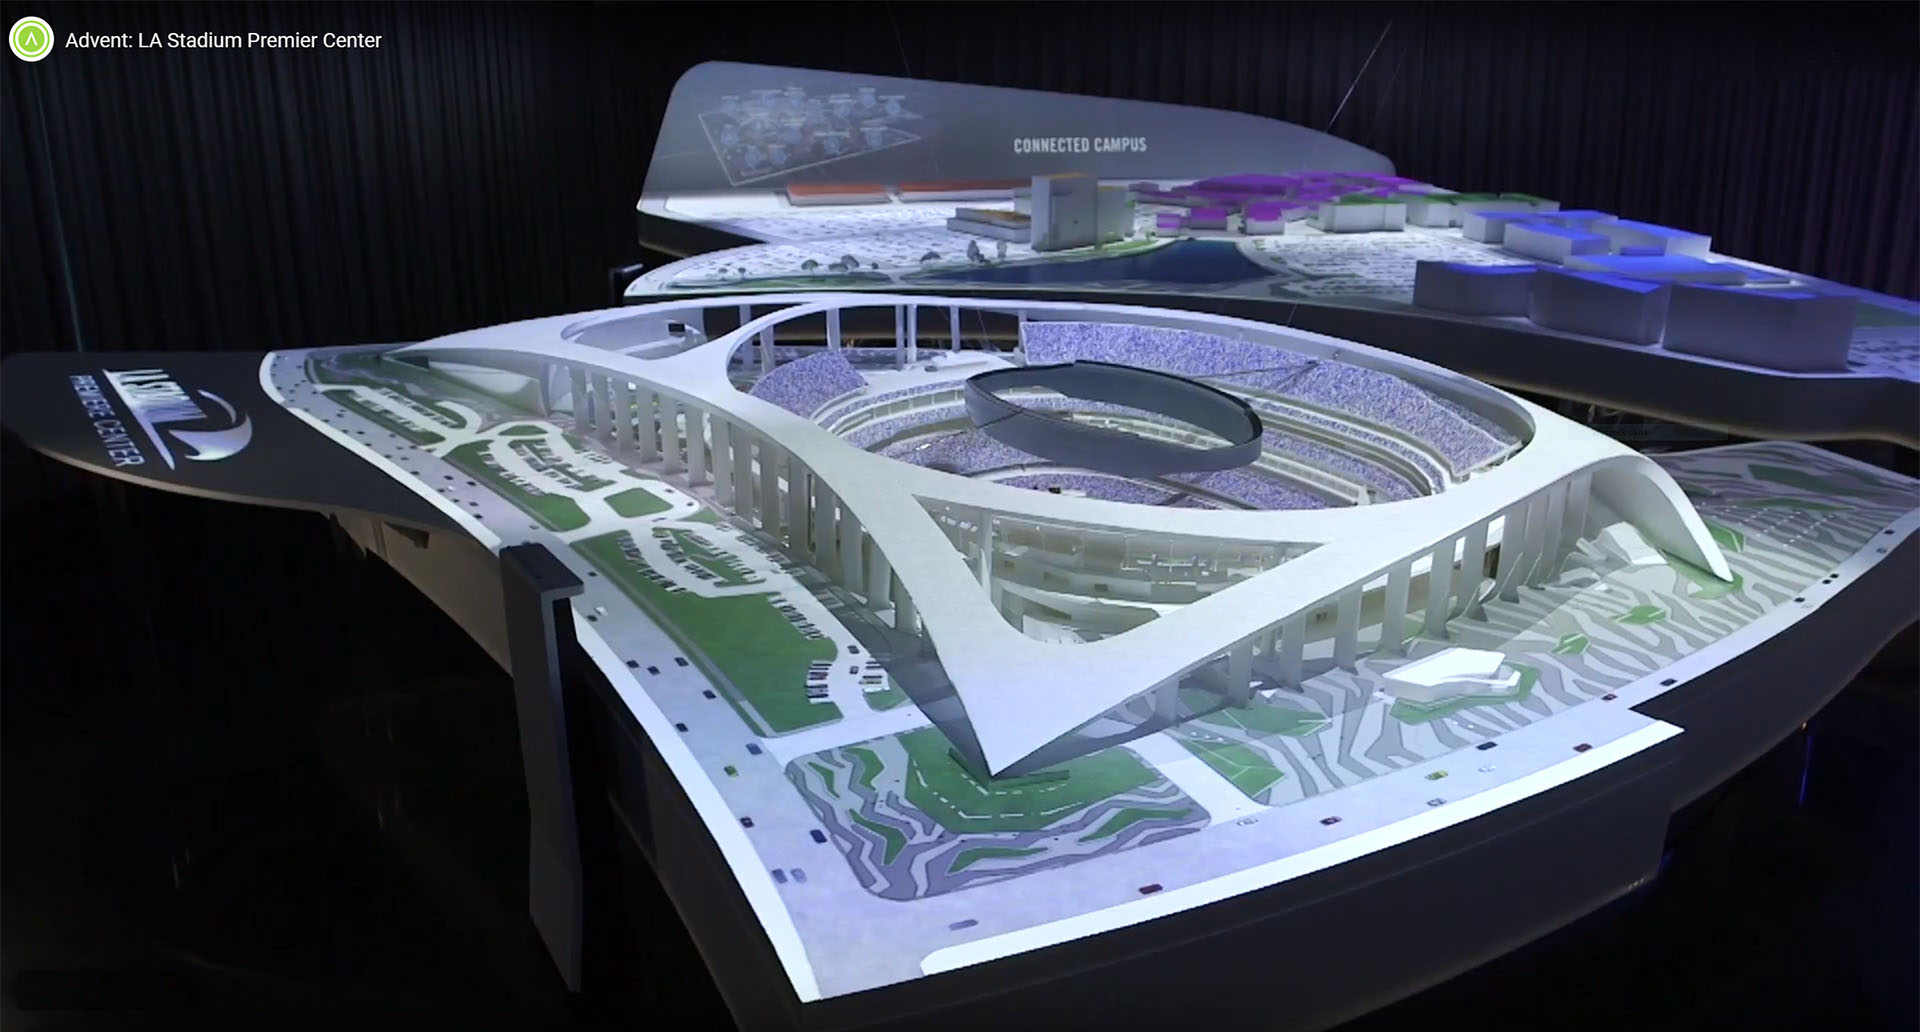
Image and video courtesy of Advent Results
Tags: interactive, Projection Mapping, Unity3d
© 2026 Boros Łukasz | Theme by Eleven Themes
Recent Comments